Welcome
In this tutorial, you will learn how to create custom chaos scenarios using Litmus. You will use ChaosHub and asset discovery to create a custom scenario.
What you will learn
- What is Chaos Hub
- How to use Chaos Hub
- How to connect to a new Chaos Hub
- Create a custom scenario using Chaos Hub
In this tutorial, you will inject a pod-delete fault against a sample microservices application called podtato-head and verify if the service continues to be available through the chaos duration.
Pre-Requisites
- Kubernetes 1.17 or later. Recommended sizing of at least: 2 vCPUs, 8GB memory, 10GB of disk space (for persistent volume creation)
- Helm3 or Kubectl
- Access to the Internet from Cluster
- Have Litmus 2.x.x installed.
In this section, you will use the ChaosCenter dashboard to set up a chaos project, and prepare for chaos scenario execution.
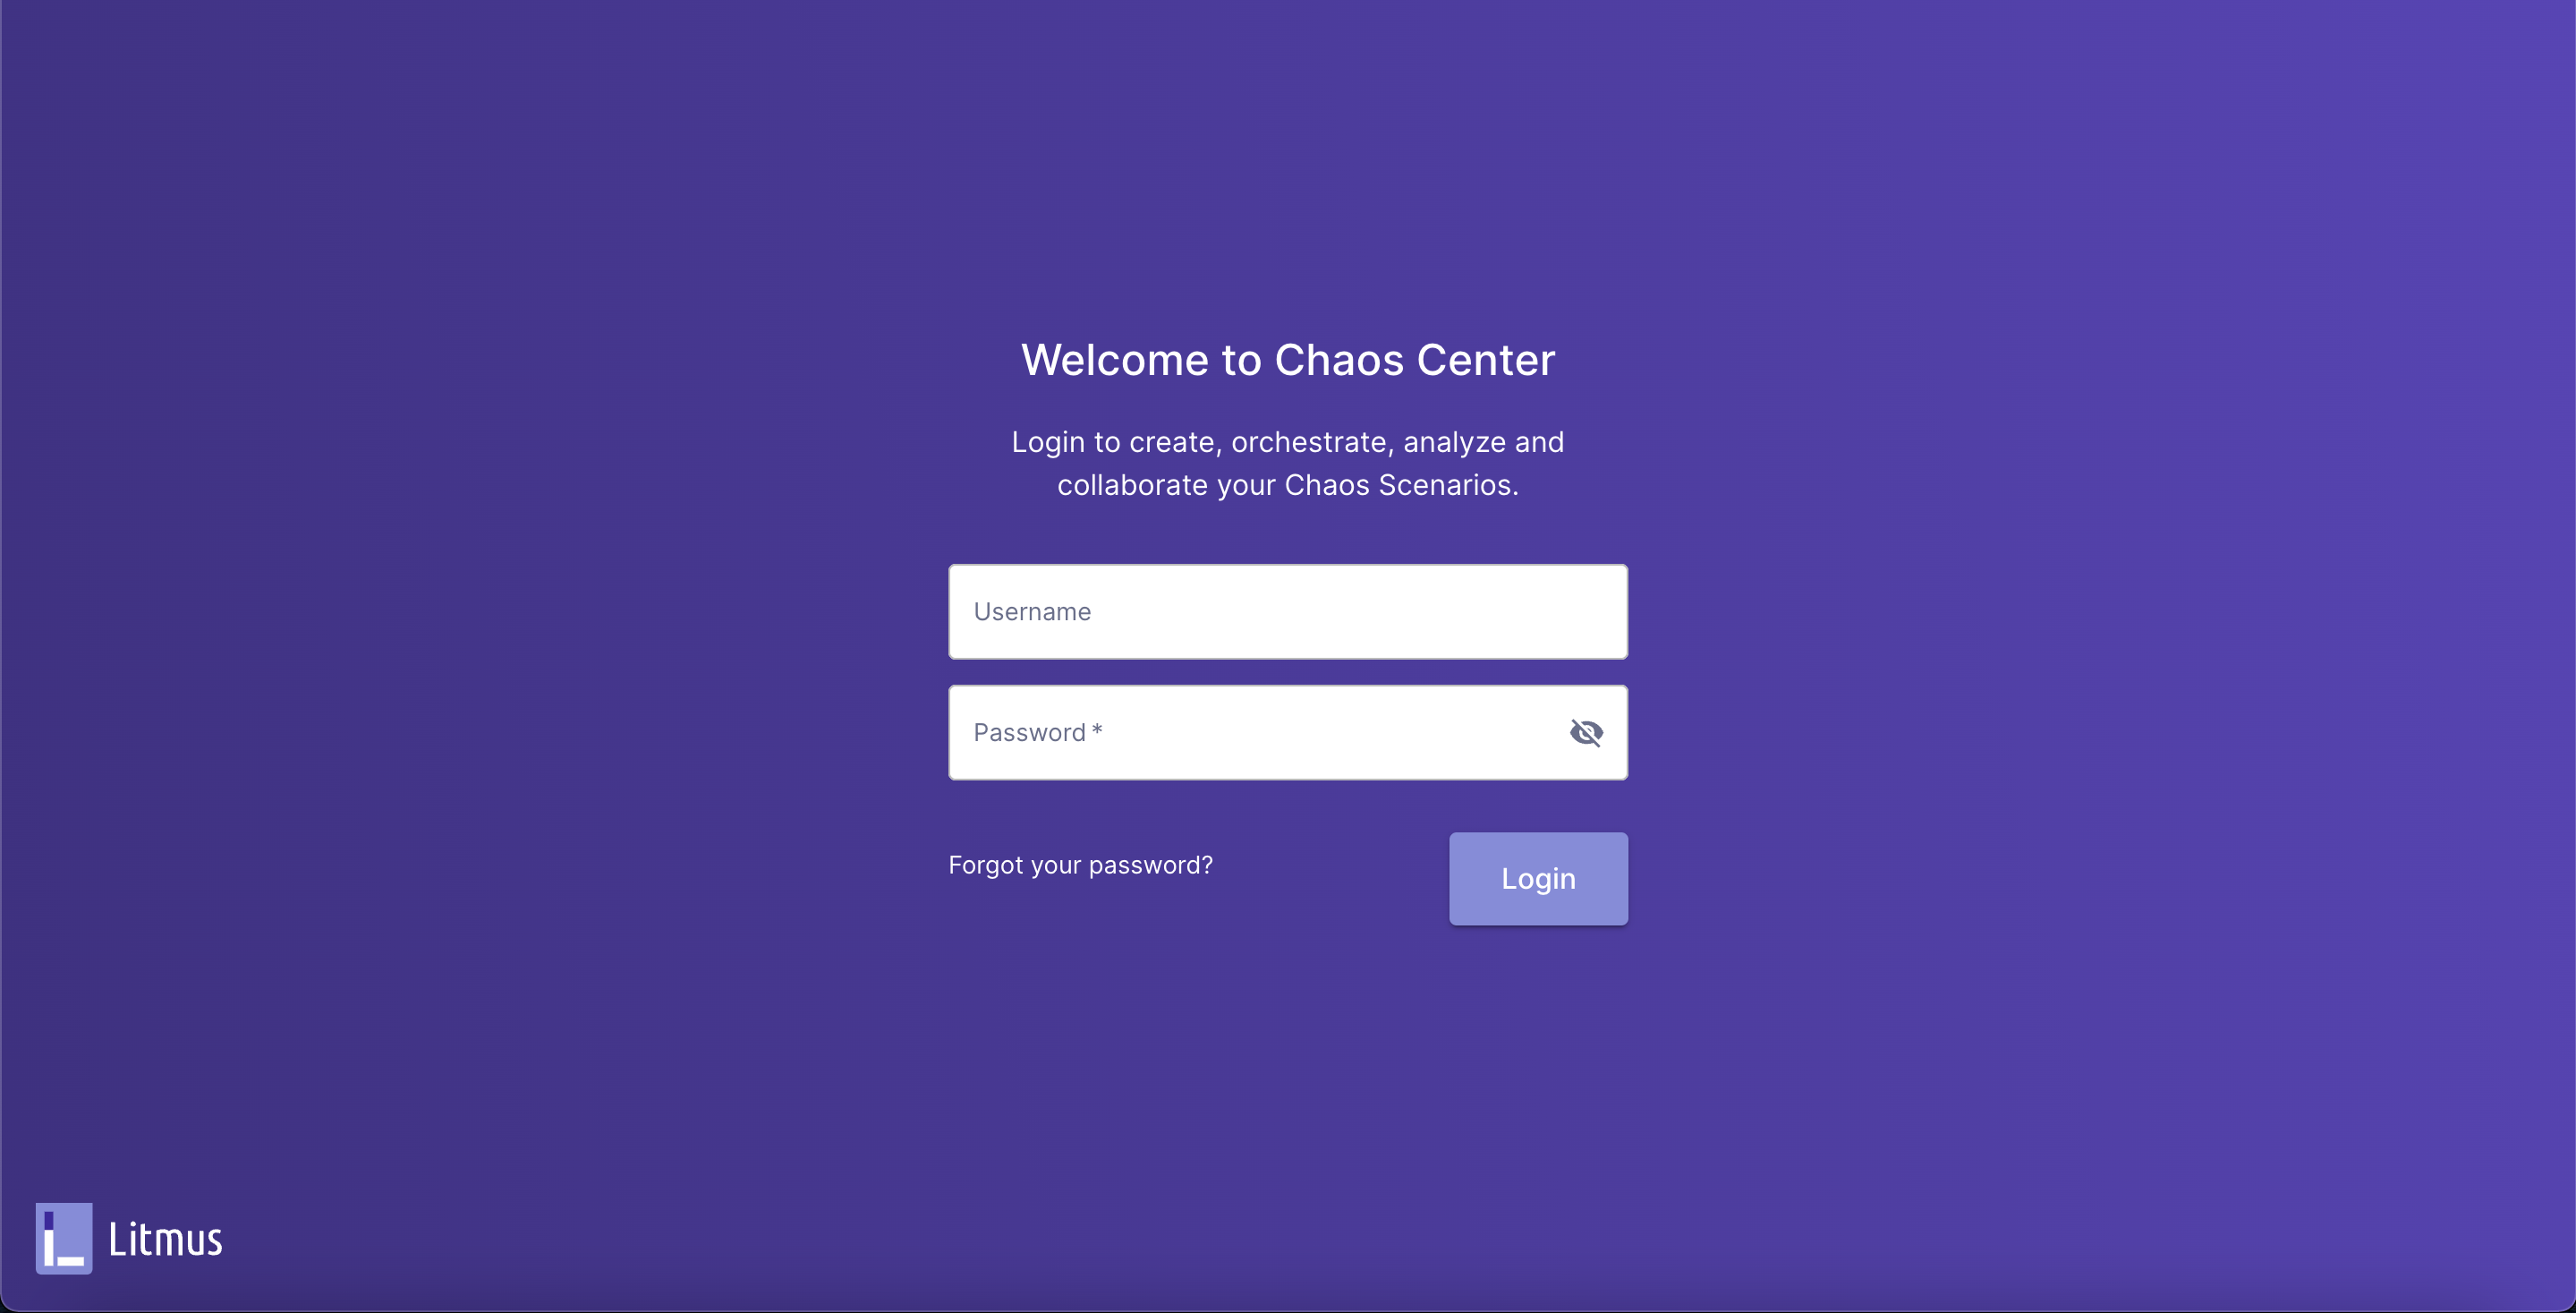
Access and Login to ChaosCenter Dashboard
Obtain the service endpoint of the litmus-frontend service, either via nodePort or load balancer URL, and open on your preferred browser. If former, use the external IP of any cluster nodes with the assigned nodePort.
kubectl get svc -n litmus
  NAME                               TYPE        CLUSTER-IP     EXTERNAL-IP   PORT(S)                         AGE
  litmus-auth-server-service         NodePort    10.76.20.219   <none>        9003:31241/TCP,3030:31248/TCP   35s
  litmus-frontend-service            NodePort    10.76.21.27    <none>        9091:32733/TCP                  39s
  litmus-server-service              NodePort    10.76.23.74    <none>        9002:30707/TCP,8000:30327/TCP   37s
  mongo-headless-service             ClusterIP   None           <none>        27017/TCP                       32s
  mongo-service                      ClusterIP   10.76.26.27    <none>        27017/TCP                       33s
Use the default credentials to login.
Username: admin
Password: litmus
What is Chaos Hub?
Litmus Chaos Hubs allows you to connect to your Public Chaos Hubs pulled directly from your Github repos. You can then customize the experiments, orchestrate scenarios, and use them in the ChaosCenter as custom scenarios.
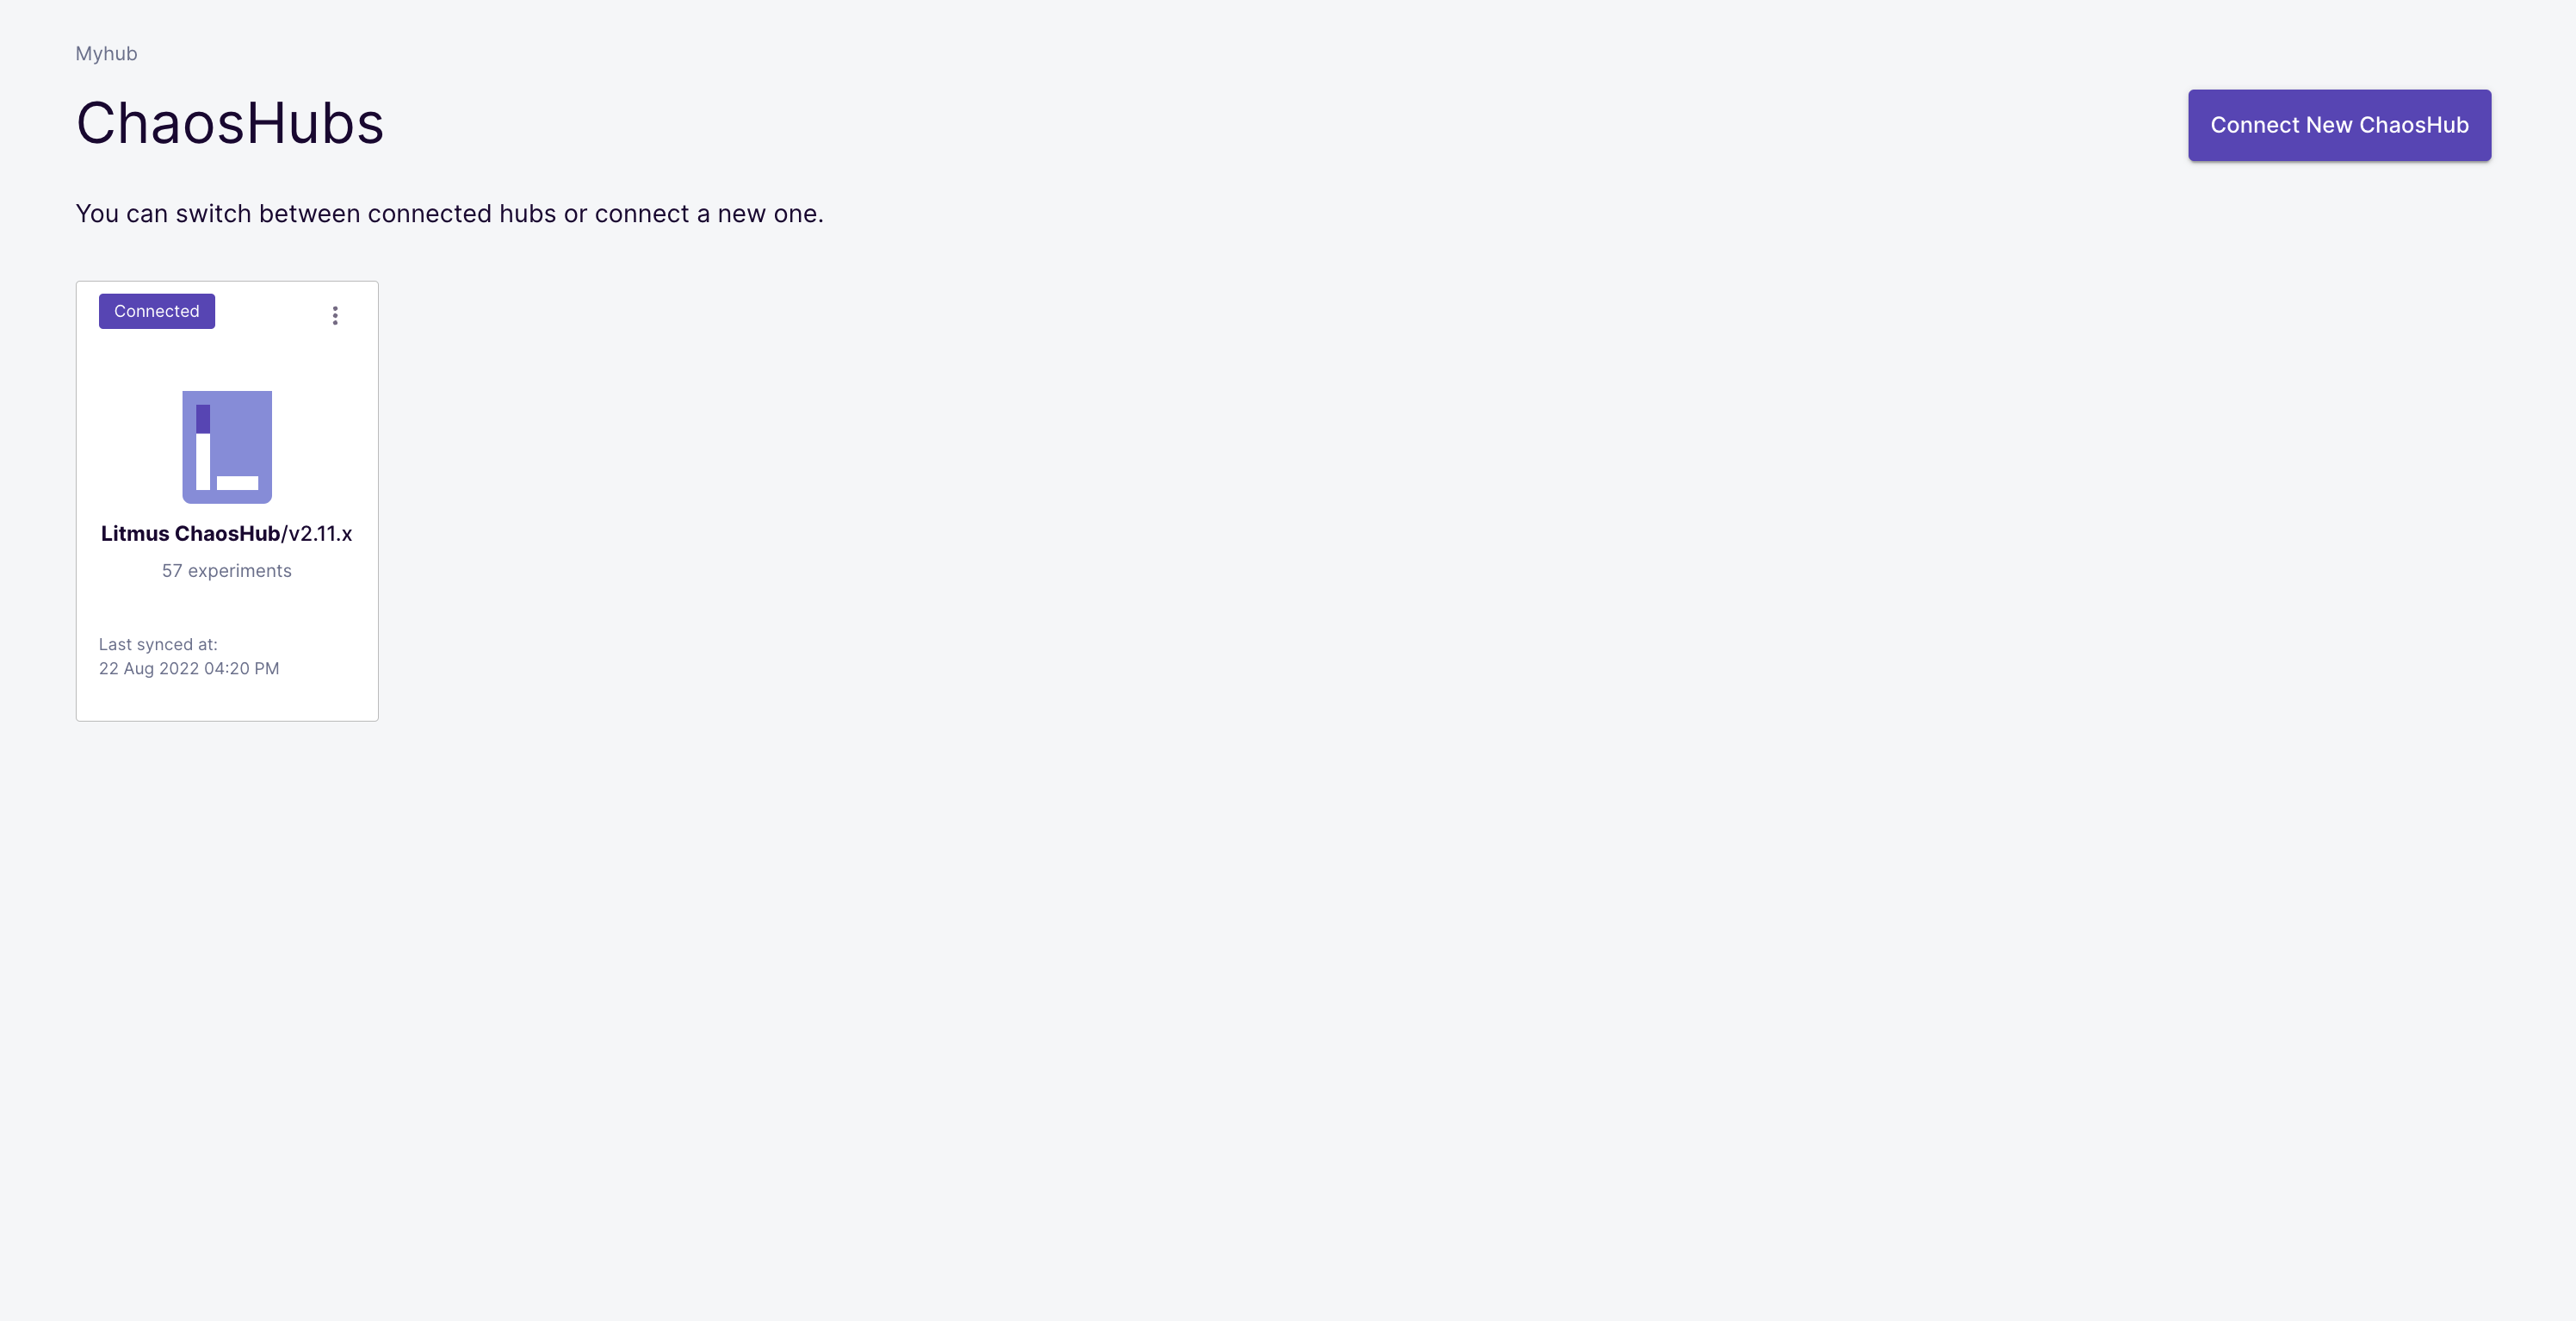
Initially, there is one Chaos Hub present, the Litmus Chaos Hub. This hub contains experiments from https://hub.litmuschaos.io/. You can use this default Hub or connect to a new external hub.
Connecting to a Chaos Hub on a public GitHub repository
Navigate to the Chaos Hub tab on the ChaosCenter and click the Connect New Hub button.
Here, you will be presented with a form to add a Chaos Hub. You will need to provide a name, select public, and type in the URL of the Github repo you want to add and its corresponding branch.
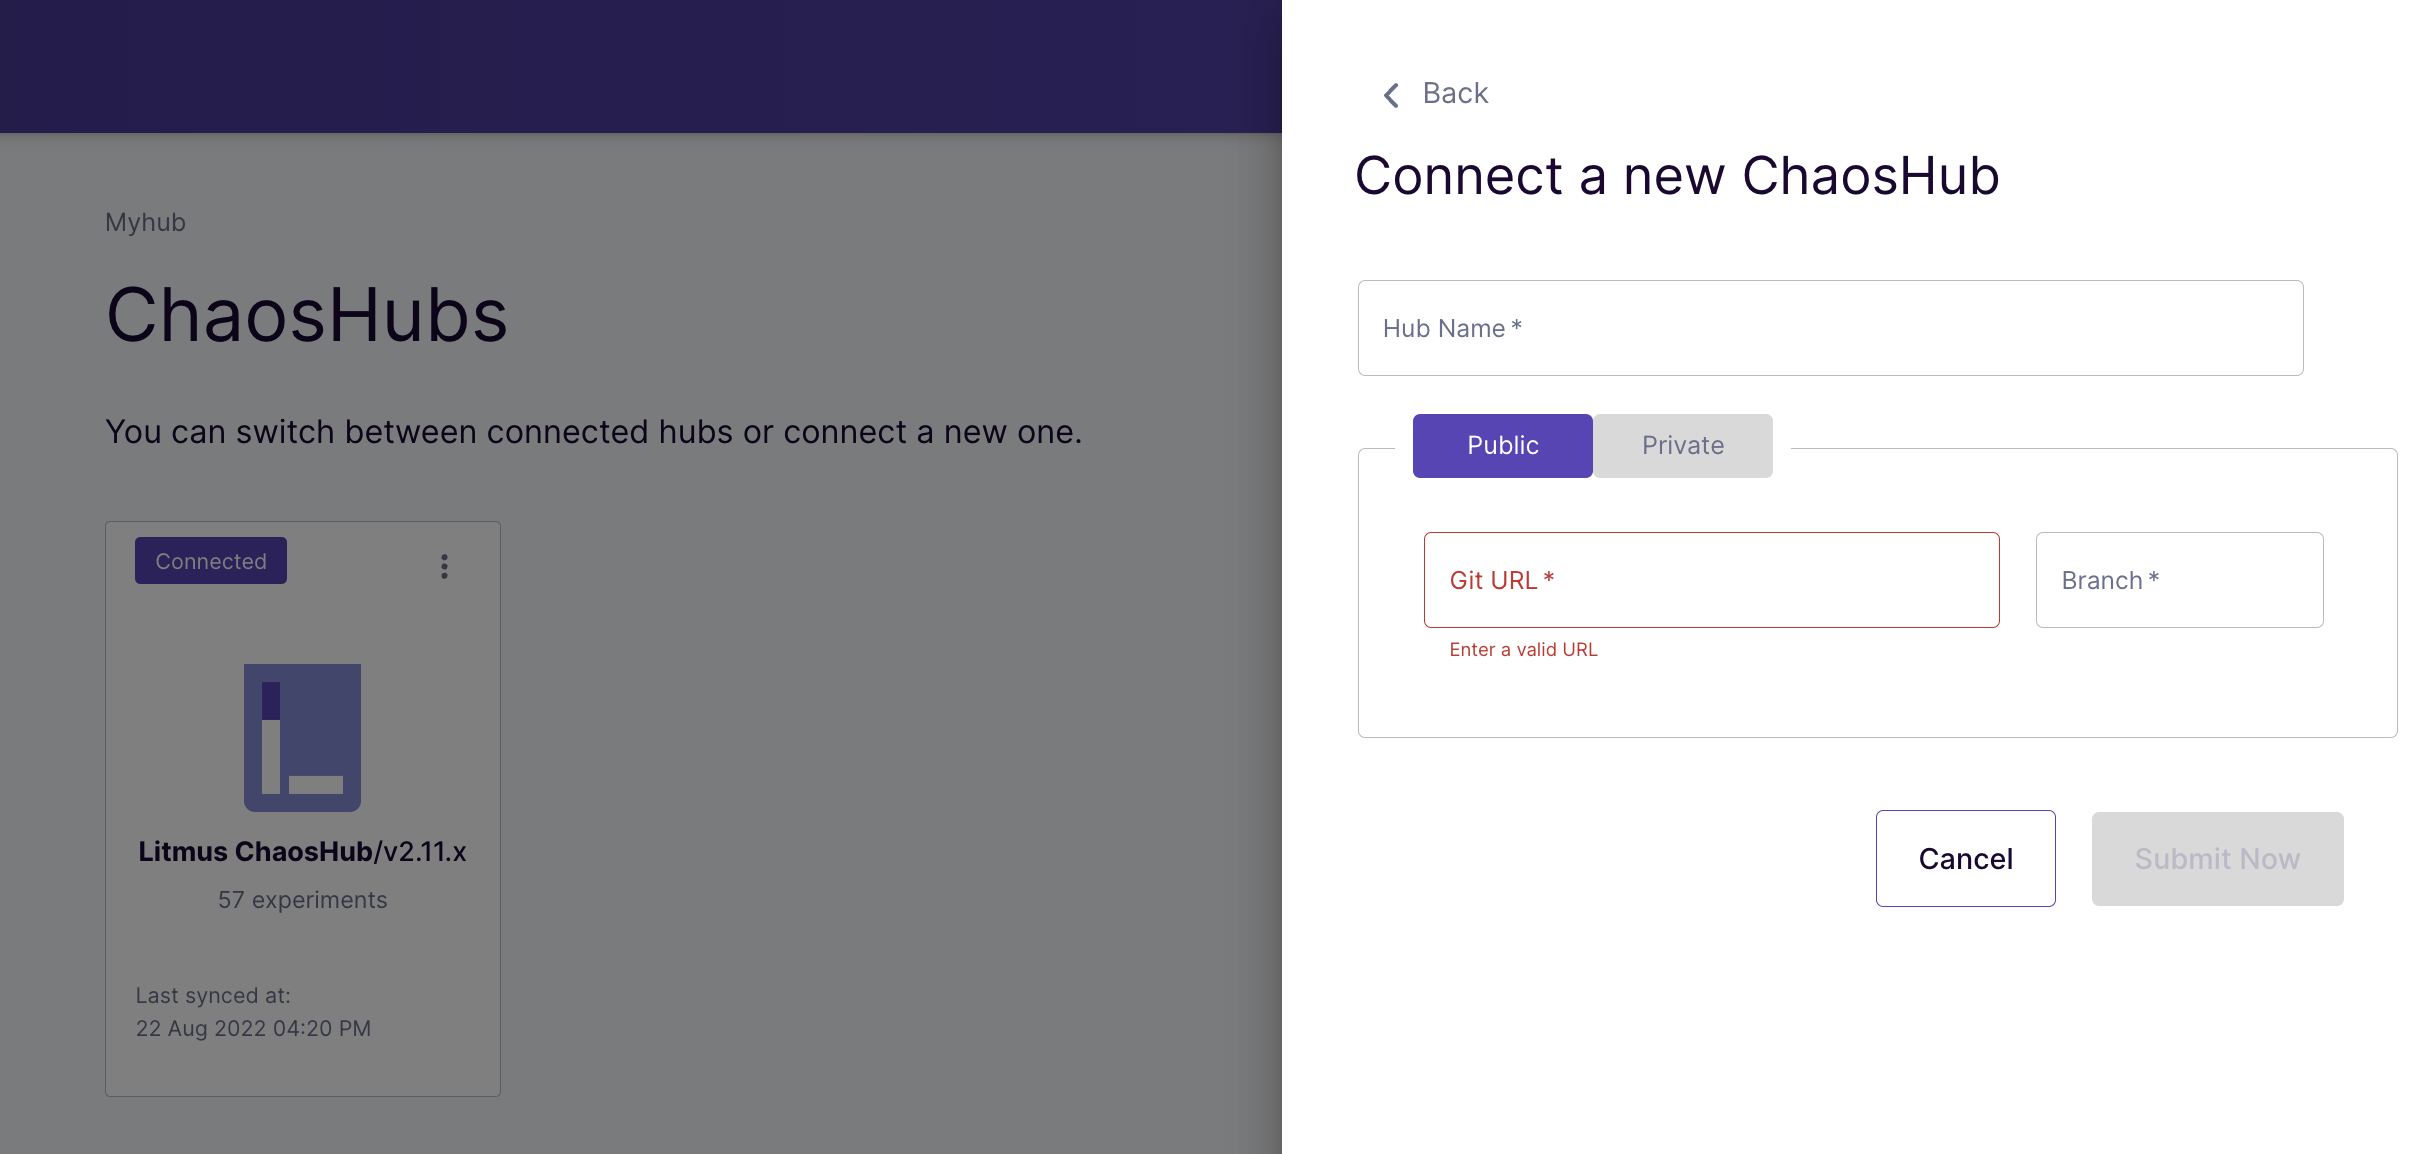
Here we would be using a fork of the Chaos Hub, a public repo for this tutorial. You can find this fork here.
First, give the Hub the name of MyHub, then type in the repo URL https://github.com/Gbahdeyboh/chaos-charts and the branch master. Then click the Submit button. You should have two hubs, MyHub and Chaos Hub.
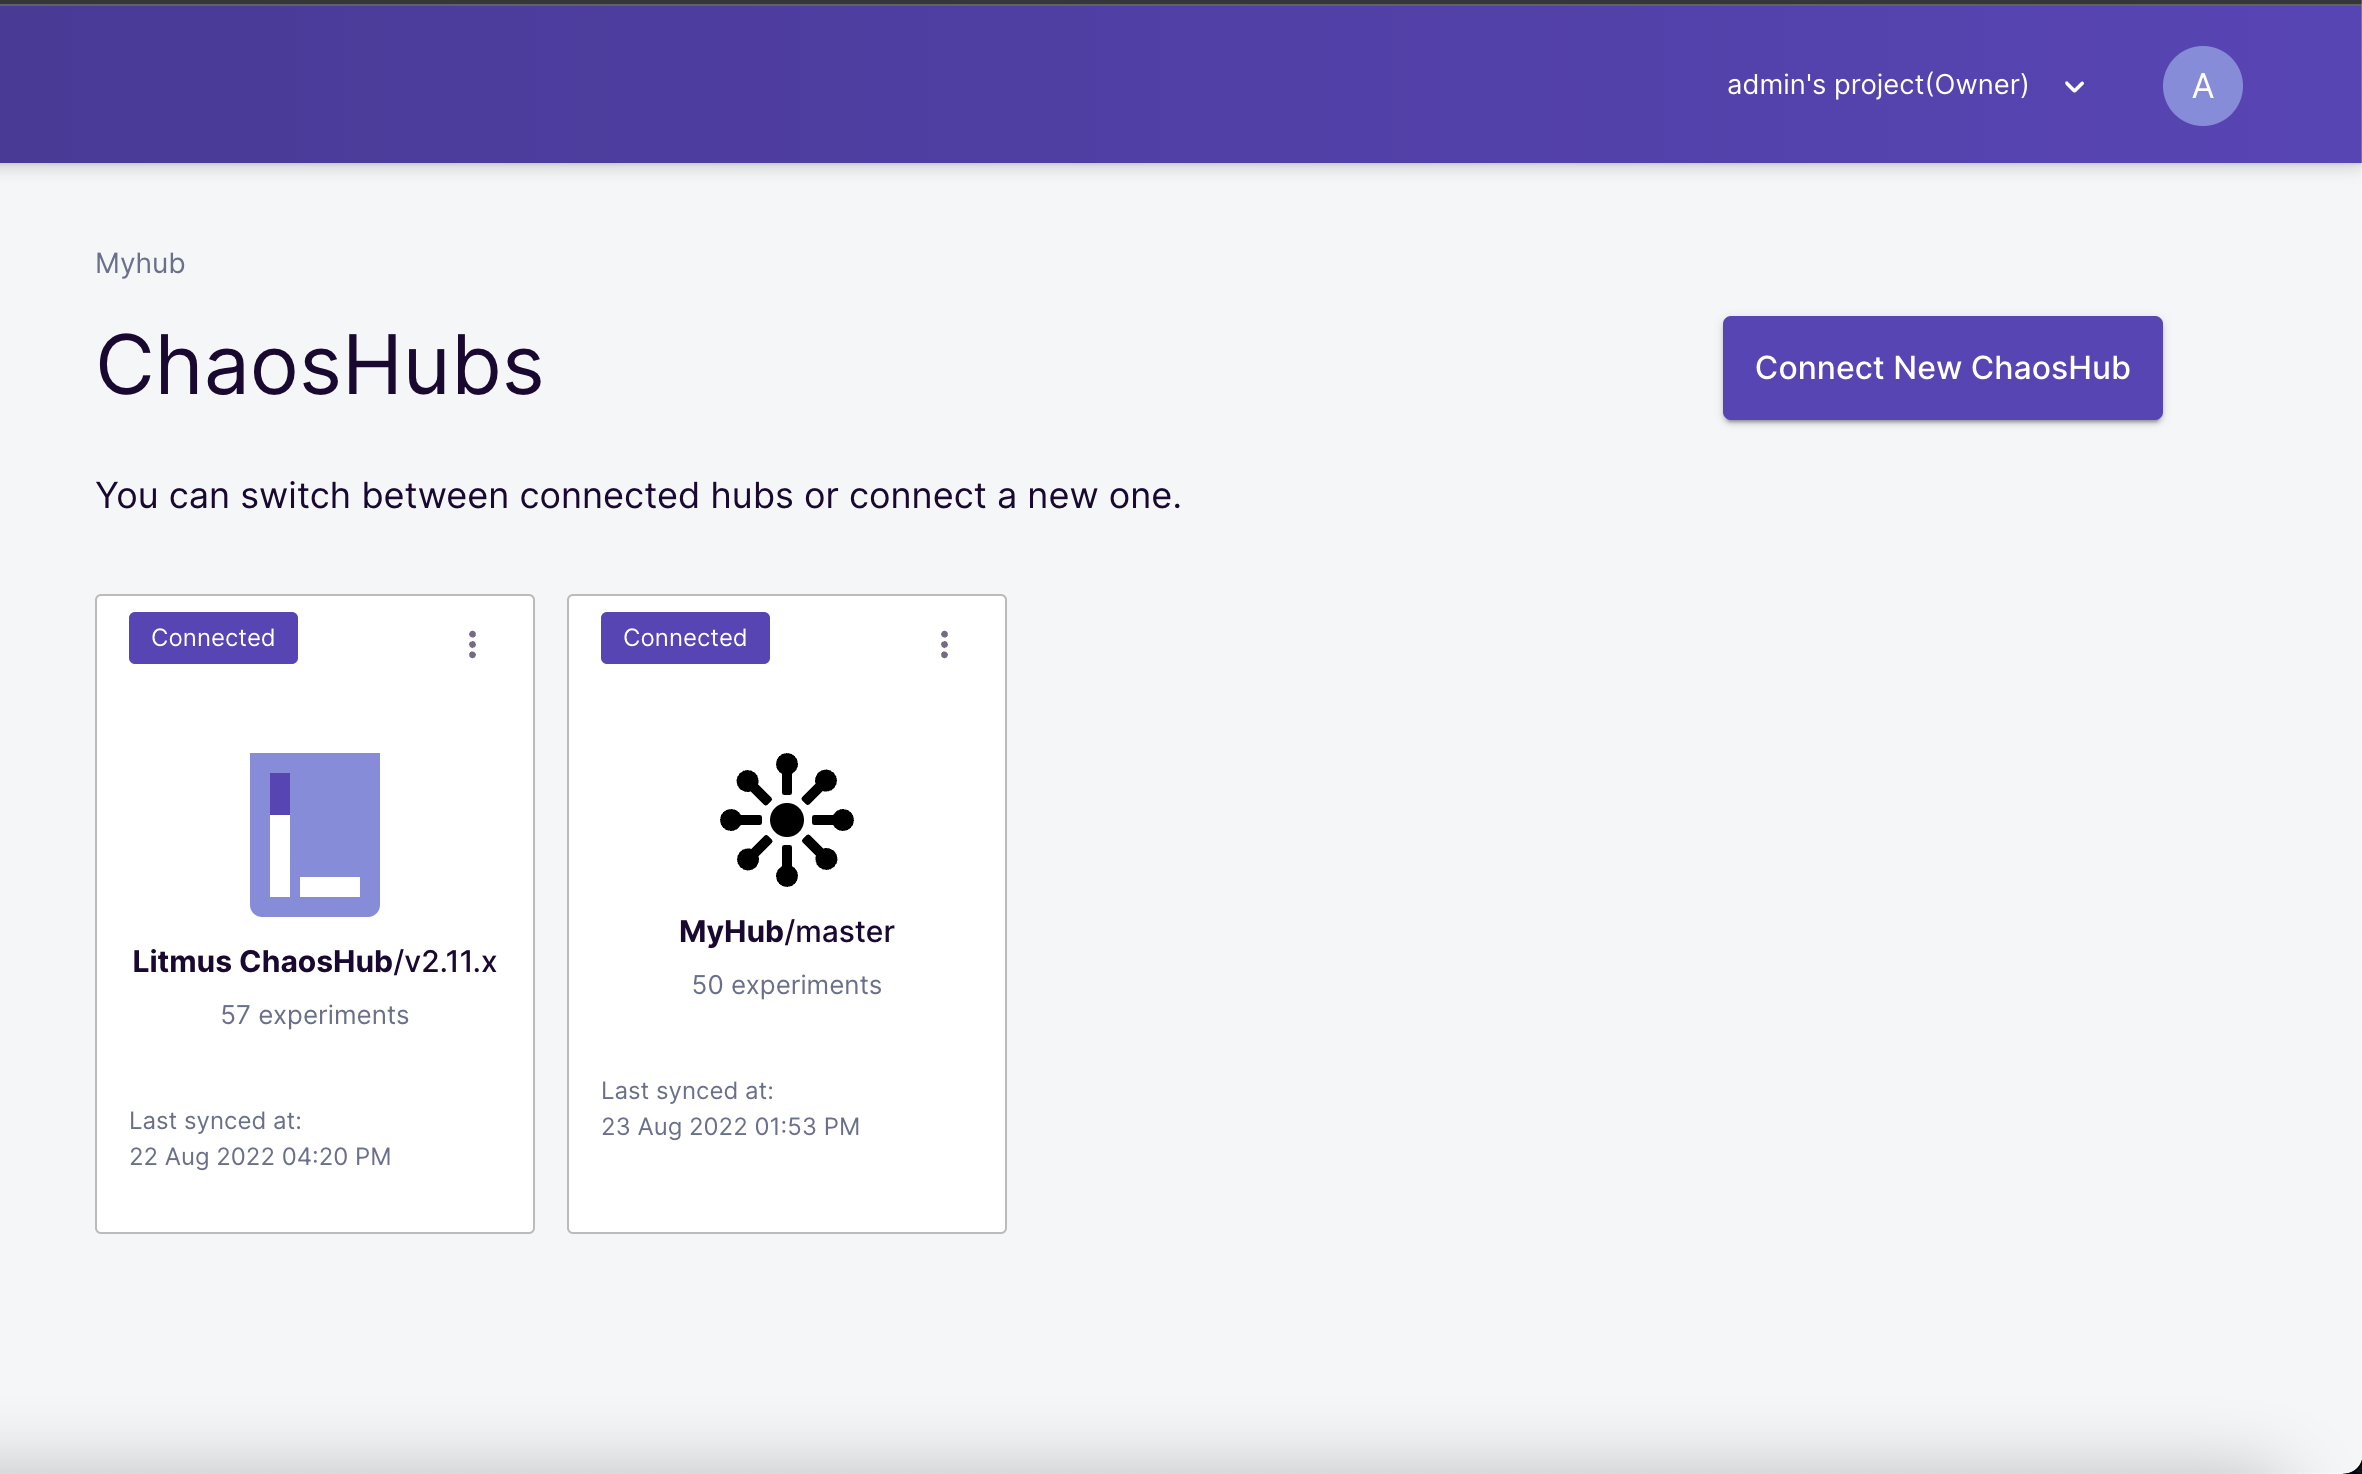
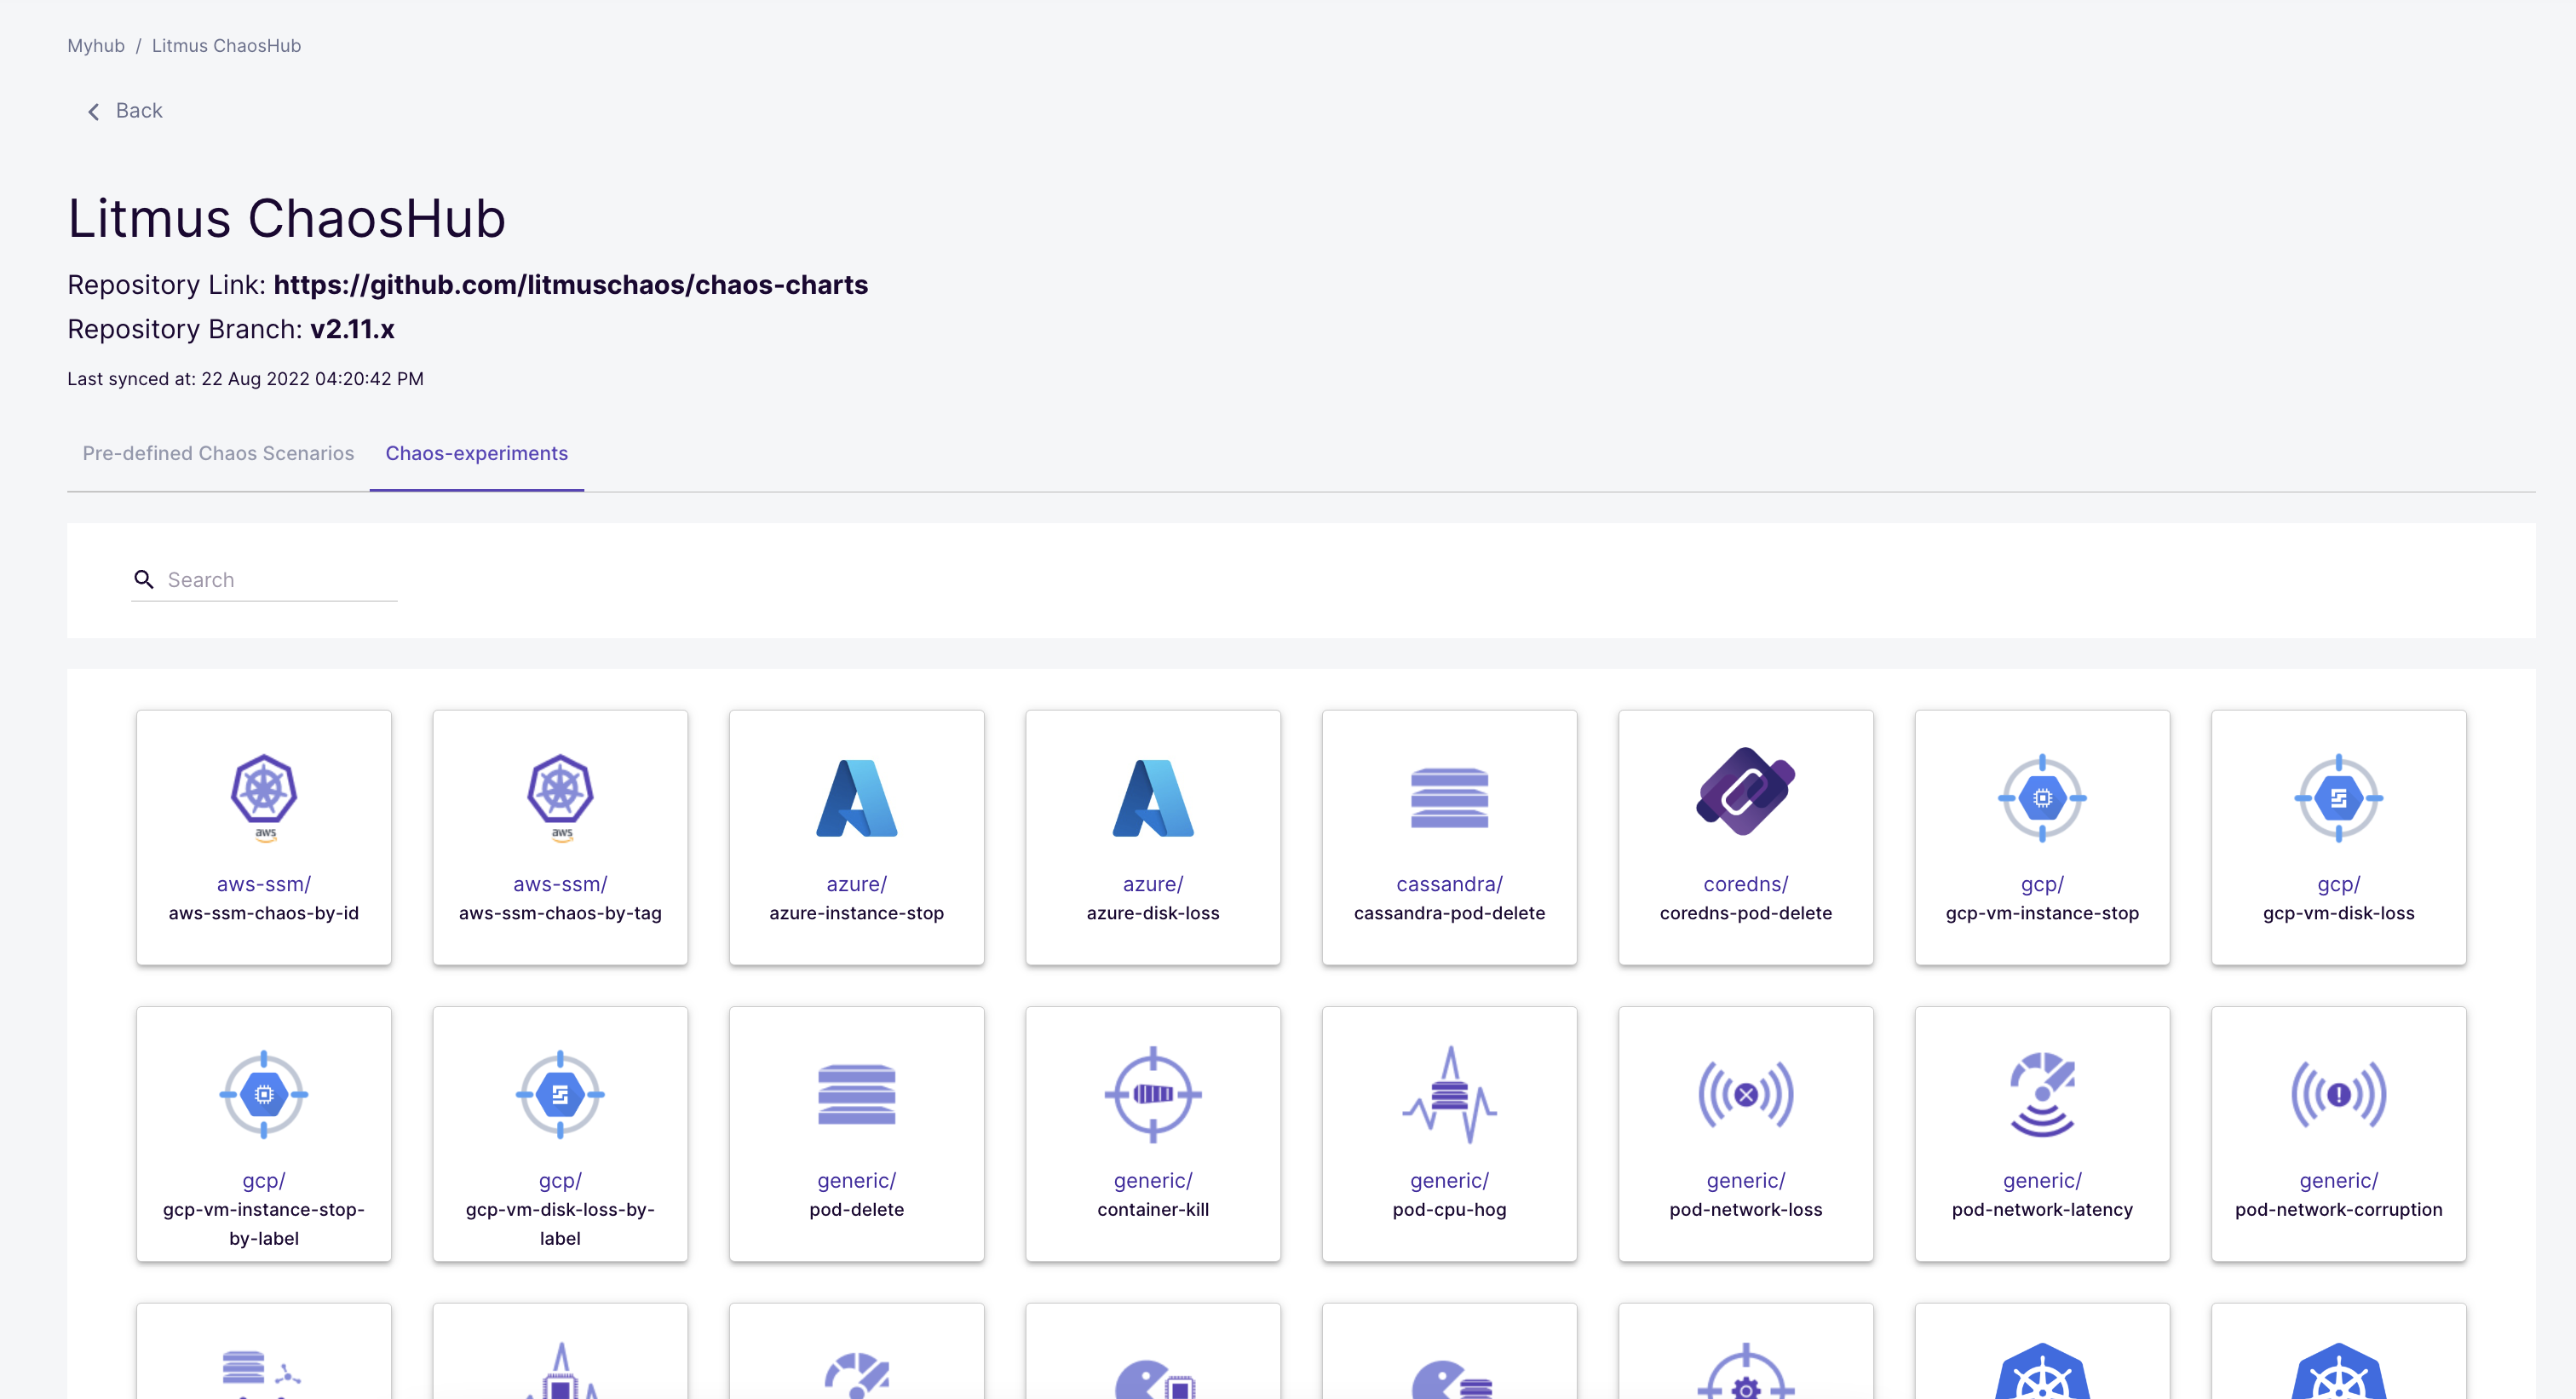
Click on the MyHub Hub and view the available experiments it has.
Connecting to a Chaos Hub on a private Github repository
Navigate to the Chaos Hub tab on the ChaosCenter and click the Connect New Hub button.
Provide a name, select private and type in the URL of the Github repo you want to add and the corresponding branch.
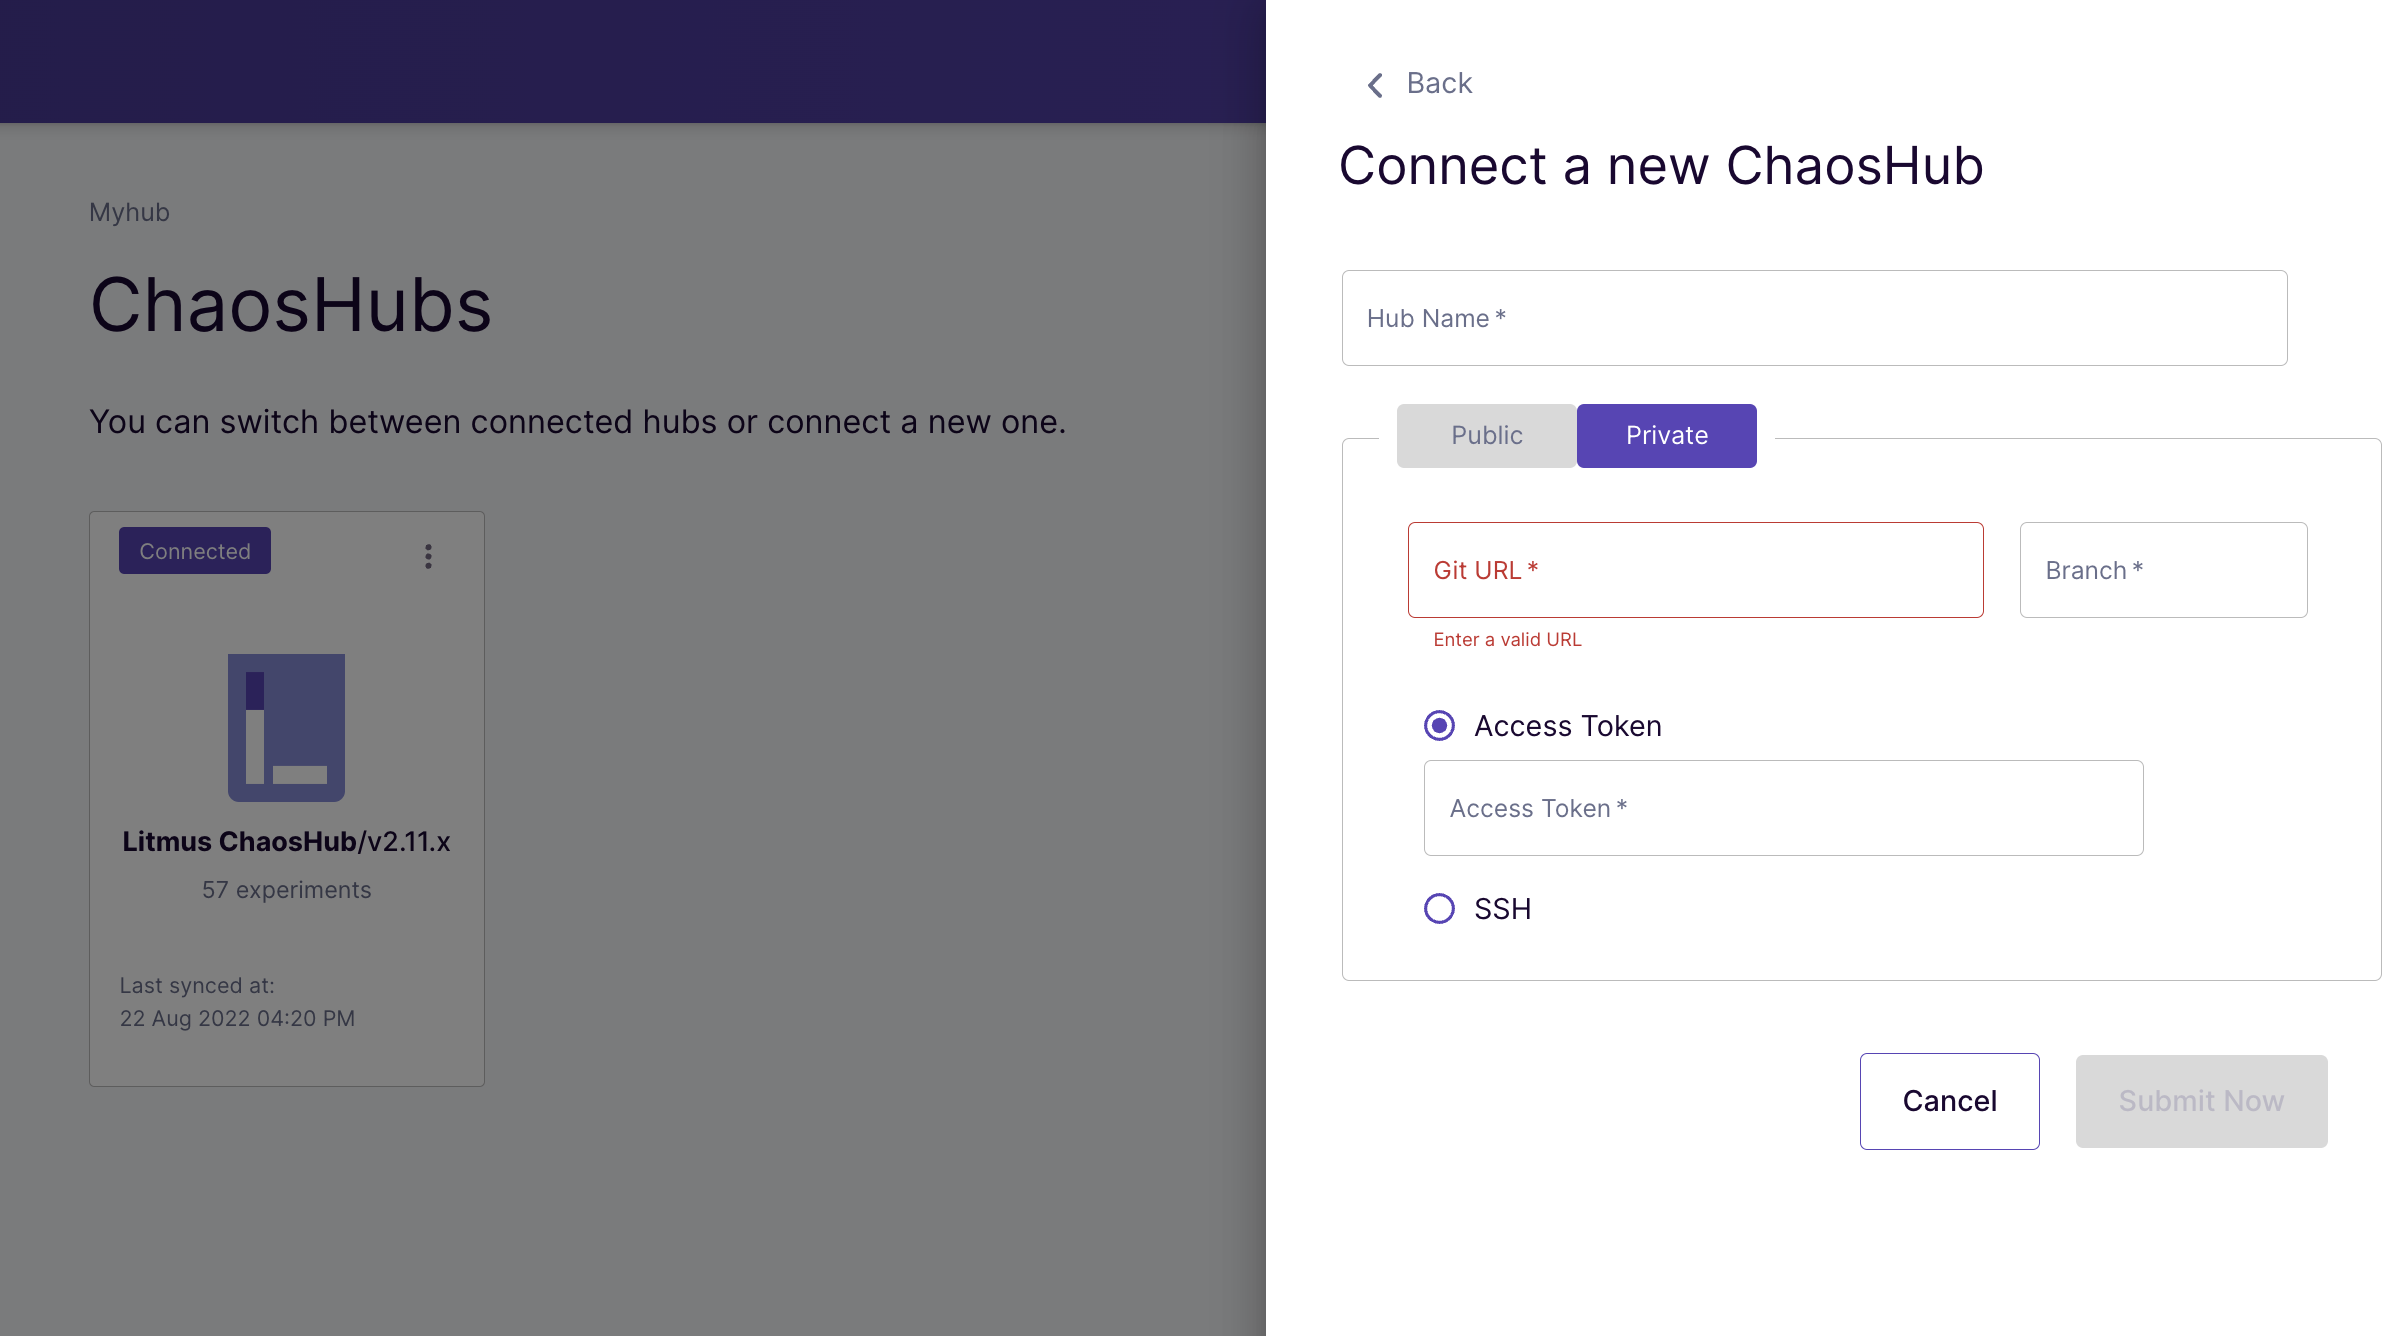
Because this is a private repo, you have to give the ChaosCenter access to it. This can be done by using any of the following.
- Access token.
- SSH key.
Access token
To add an access token, navigate to github.com/settings/tokens and click on the Generate new token button.

Add a description to the note section of the token, then select scopes for the token. The scopes let GitHub know what permissions levels the token has, select the scopes you want but specifically give the token read access to your repositories and click on the Generate token button.
Make sure you copy your token once it is added. You won't be able to copy it afterwards and will need to generate a new one.

Go back to the ChaosCenter and paste this token into the access token field, then click the Submit Now button.
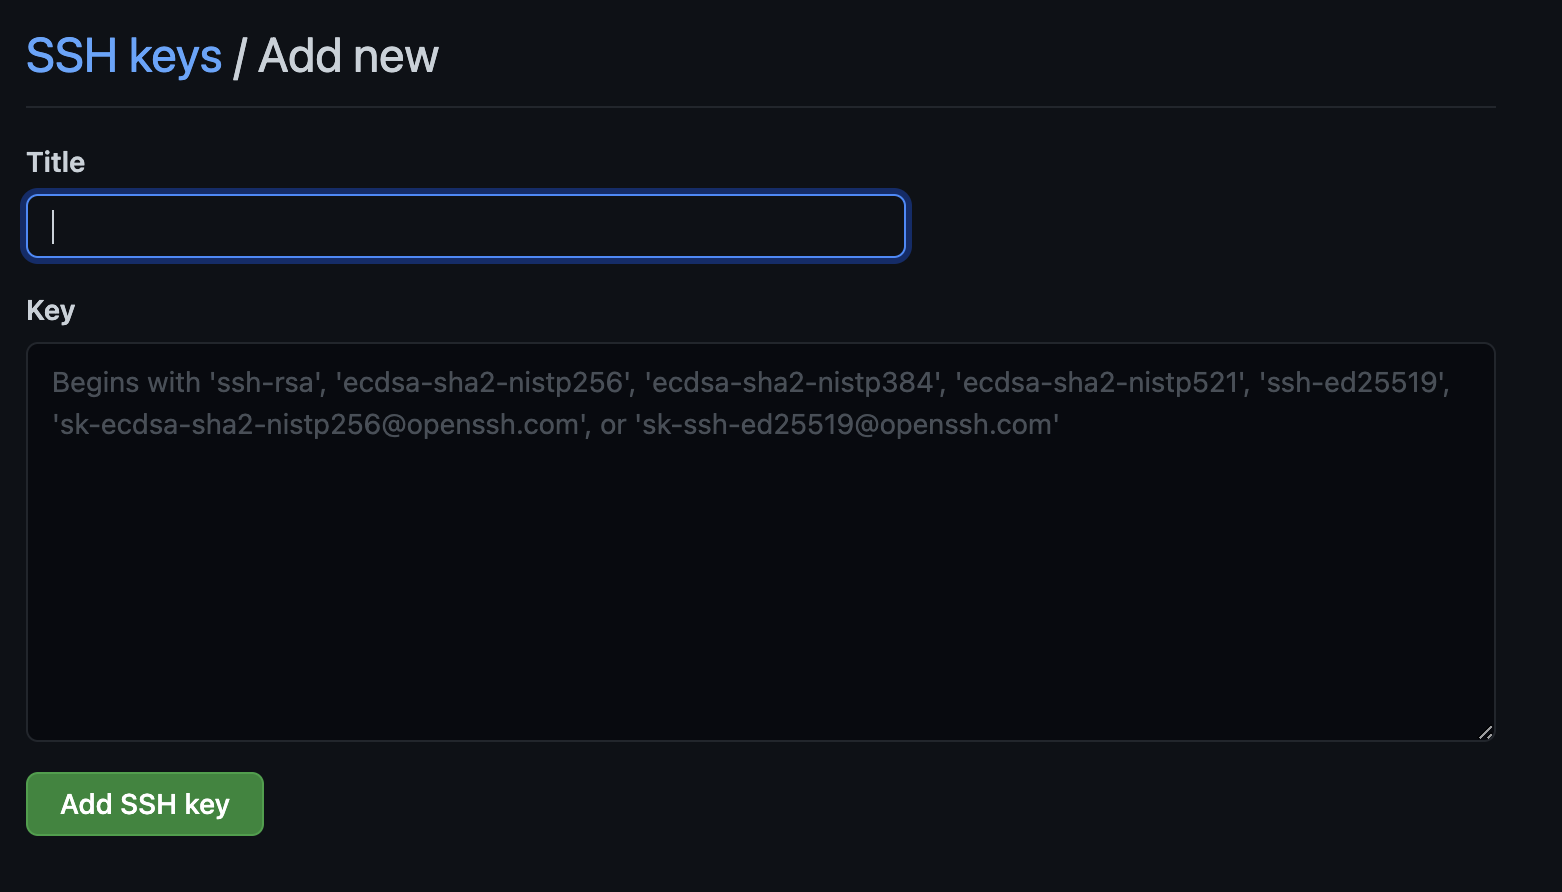
SSH key
If you selected the SSH key option, you will be presented with an already generated SSH key, click the Copy button to copy this key and go to github.com/settings/ssh to add it to your account.
You will see a new SSH key button, click it, add a title and paste in your SSH key and click the Add SSH key button.
Click the submit now button.
Exploring the Chaos Hub
After adding a new hub, you can click on the hub name to explore the experiment and scenarios present in the hub.
In the default Chaos Hub, there is a pre-defined scenarios section and a experiment section. The pre-defined scenarios allow you to quickly set up a simple scenario and execute it.
You can now create custom scenarios from experiments in the experiment.
In this section, you will create custom scenarios from the hub we connected to in the last section.
1) Select a Target Delegate
First, navigate to the Scenarios tab on the ChaosCenter and click the Schedule a scenario button. It will take you to the scenario page.
You need to select a Target Delegate to proceed, these delegates consist of CRDs and the required resources to run a chaos scenario. While installing the ChaosCenter, a default delegate named Self Delegate is created. Select the Self Delegate.
Note: You may have to wait for the delegate to be up and ready, after which you can move forward by again clicking on "Next"
2) Choose a Scenario
Here, you will see four different options from which you can create a scenario. For this tutorial, we will only use the Create a new scenario using experiments from the MyHub option. Select this option.
Then select the Hub you want to connect to which is MyHub and choose an experiment.Select the podtato-head experiment that will inject a pod-delete fault into a sample microservice application. Click the Next button when done.
3) Scenario Settings
Here, you can change the name of the scenario and also provide a description of the scenario. This section also consists of information regarding the namespace where the scenario will be scheduled. Click next when done.
4) Tune Scenario
This section consists of all the information related to the chaos scenario. Some new and advanced features that are present in this section are :
- Scenario Visualization: This feature allows you to visualize the scenario even before scheduling it. This gives brief information related to the structure of scenario i.e if the experiments are present in a serial or parallel way.
- Scenario Table: This table contains the list of experiments present in the scenario. It also consists of some valuable information related to the target applications.
- Edit Yaml: With this option, you can view and change the scenario manifest with a YAML editor.
- Revert Chaos: For custom scenarios, you can enable or disable the revert step from the ChaosCenter. With the revert step enabled, a new functionality called podGC is also added which deletes the scenario pods after the completion of scenario as part of the clean-up process.
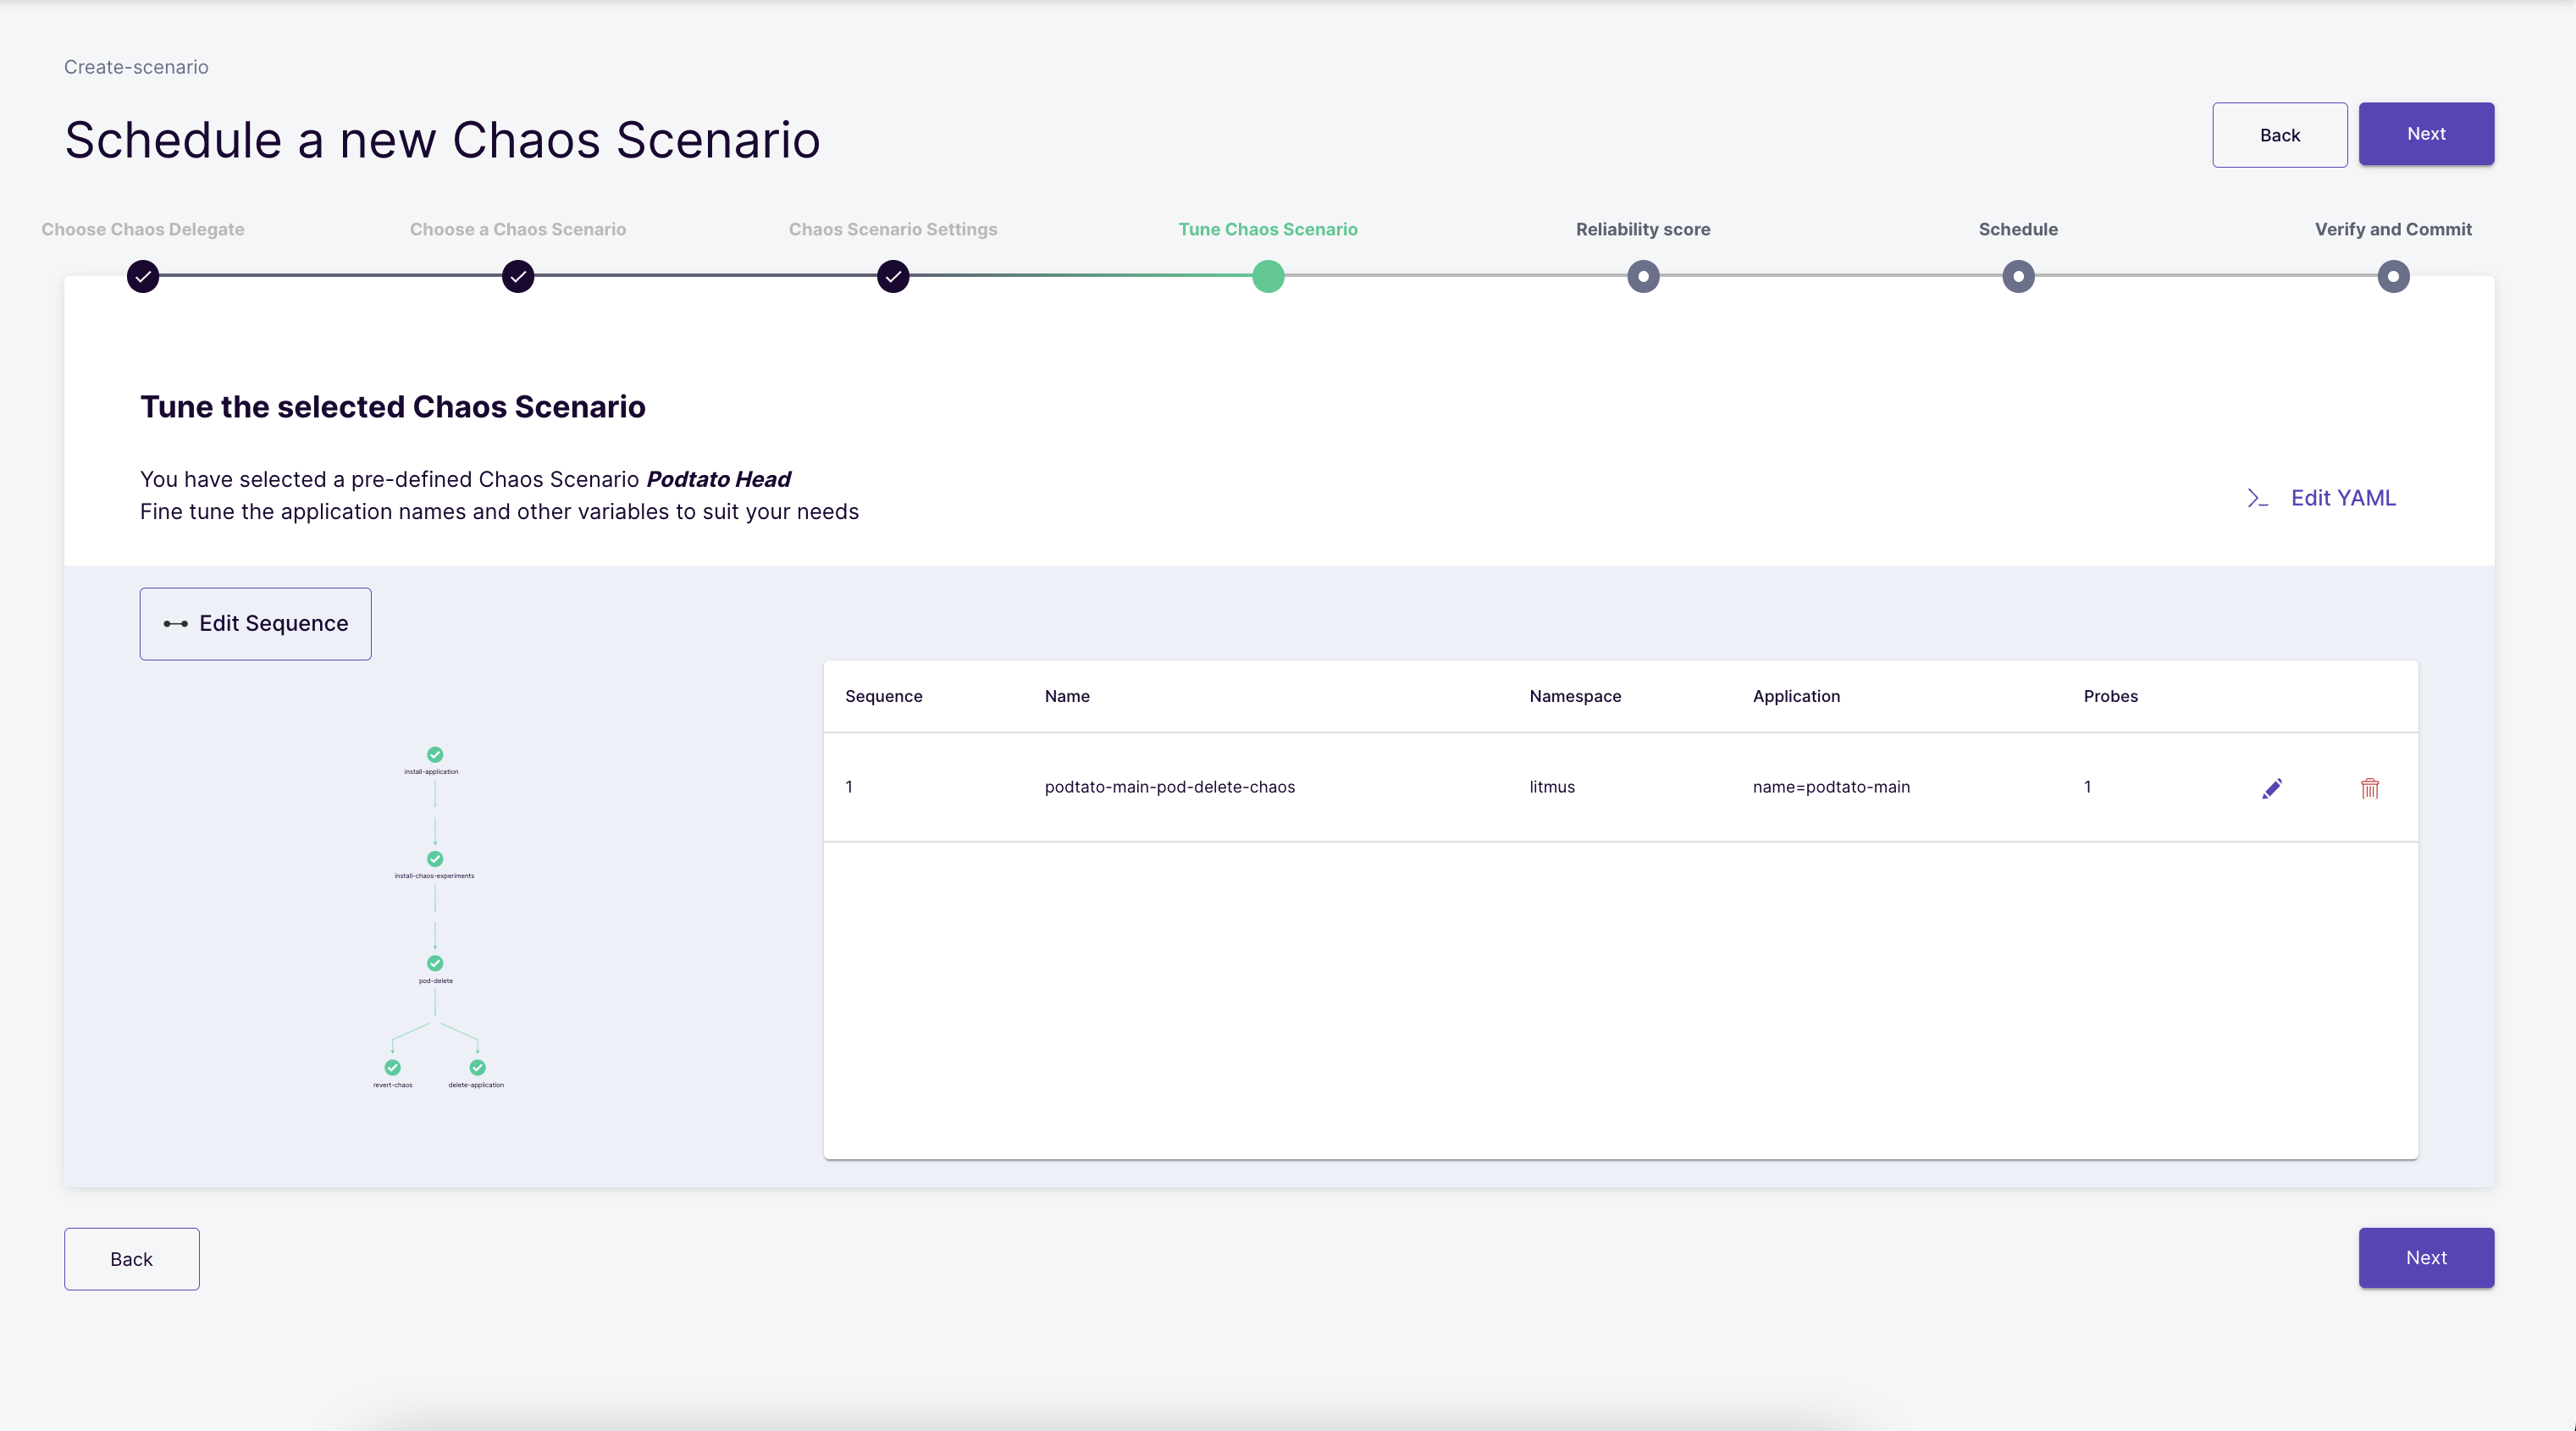
Don't care too much about the above if you do not understand it yet. Click the Next Button to proceed.
5) Reliability Score
You can assign weights to the experiments present in the scenario. These weights will be then used for the calculation of the resilience score after the scenario completion. By default, 10 points are assigned to each experiment. This can be altered as per your use case. After selecting weights click on the Next Button.
6) Schedule
scenarios can be scheduled in two ways;
- Schedule now: This option allows the scenario will start as soon as you schedule it.
- Recurring Schedule: This option will allow you to schedule recurring scenarios. It converts a normal scenario to Cron scenario by adding cron syntax in the scenario manifest. The following methods are available to schedule recurring scenarios:
- Every Hour
- Every Day
- Every Week
- Every Month
7) Verify and Commit
This is the final step in the scenario creation process. In this step, you can validate all the changes related to the scenario like the scenario name, the experiment weights, scenario description, scenario manifest, etc. Once you have verified all the changes, you can click the Finish button to start the schedule.
8) Visualize and Analyze the scenario
You can now Visualize your scenario by following steps 5 and 6 of the Getting Started Tutorial.
In this tutorial, we have covered the steps involved in connecting to a new hub and scheduling a custom chaos scenario on ChaosCenter. To learn more about Litmus and the ChaosCenter, you can refer to Litmus Documentation.
Please visit us in our LitmusSlack Channel (in Kubernetes workspace) and tell us how you like LitmusChaos and this tutorial! We are happy to hear your thoughts & suggestions!
Also, make sure to follow us on Twitter to get the latest news on LitmusChaos, our tutorials, and the newest releases!